Lessons of a self-schooled laminate floor installer.

Having already learned to install linoleum, carpet, tile, and decking, I must first admit that it was very wrong to have layered them in that order: carpet should always go on top of the tile, with but a subtle linoleum layer as the finisher. That's the true secret to replicating bouncy castle foot-feel.
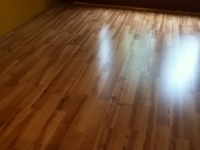
This year's never-ending renovation project included a complete resurfacing of the bottom-most portion of the kitchen and living room. This time we chose laminate flooring, a high-pressure sandwich of wood-grain stickers, ballpark peanut shells, and refinery scrapings. Also sandwiches. Together with the look and feel of real wood, you also get the satisfaction of having reallocated a measure of the planet's industrial toxin supply.
 We chose a warm and cheerful interpretation of maple, but many other species are available: balsa, Dutch elm, baobab, and something new called OakALike®.
Installing laminate flooring is widely advertised as a novice do-it-yourself-er's weekend project. And that's true. It's also true that a novice won't do nearly as good a job as an experienced floorwright. As evidence, I submit exhibit A, the ground fault circuit interrupter that trips randomly when a certain electrical novice's bathroom fan is turned off.
However, having now completed a full laminate installation with the aid of my able nephew, it is with no little authority that I proclaim the following hard-earned lessons.
- Tap the rectangular puck thingy gently -- always along the longer side, if possible -- to avoid chipping the delicate top layer of the planks.
- Always buy a few extra boxes of planks. Once emptied, you can use these to store planks with chipped edges.
- Most laminate floors are "floating," meaning that all of your careful measurements will be for naught after returning from your lunch break.
- The spacers used to reserve an expansion gap around the perimeter are engineered to fall down if looked at, and will also chip the delicate top layer of the planks.
- Your two most useful self assurances will be: "Oh, we'll just put an extra piece of quarter-round moulding on that wall," and "This'll be a perfect spot for a throw rug."
- Planks are randomly assorted into their boxes, so when you randomly sort them as they're removed, probability theory will reward you with a perfect, repeating, wallpaper effect.
- The claw-like gadget used to pull planks tight from a finished end should ideally be employed only by people without fingers. That, or use a Nerf hammer.
- Proper pre-location of floor register vents is essential to avoiding a rash of "guess holes." You may simply have to resign yourself to bordering all registers with throw rugs.
- Gaps that later appear between planks can be remedied by not looking at them.
- A proper fine-bladed power mitre saw and table saw will produce the best cuts, but working the plank guillotine device loaned by the store is wonderfully cathartic.
- A plank with a chipped edge can be recycled for an end piece, just not the end piece that you cut it for.
- Careful measurement will always ensure that your last row of planks has to be cut to a width of 3/8ths of an inch.
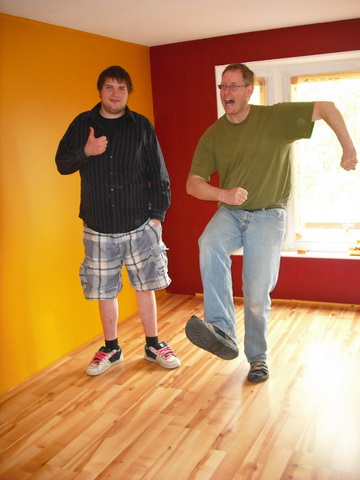
As wrong as it seems to actually walk upon a newly finished laminate floor, try your hardest to do so. For the bravest among you, I even encourage a brief victory jig:

Not every floor installer is as cool as the dude with black socks and sandals.

Archived Comments
ahahah I got a great laugh over this post!!
Hover your cursor over Dave's photos and you'll have even more reason to chuckle.
But if you hover over Dave himself, you risk being shot down for a violation of his sovereign airspace.
This entry floored me. Paragraph two had me rofl-ing!
It's just this sort of unbridled rofl-ing -- or in sadder moments, rofc-ing -- that damages floors to the extent that they need re-laminating.
HAHAHA!!!! Too Funny Dave&Ryan...Now that your nearly finish with floor,come down and do mine lol. Love Ya!!!!